![]()
![]()
![]()
![]()
![]()
![]()
![]()
![]()
![]()
![]()
![]()
Rules > Tutorial
Introduction
 This
is a collection of the examples provided in the Complete Guide. It features
several Fights of a imagined Battle and the considerations that are made
by the Players.
This
is a collection of the examples provided in the Complete Guide. It features
several Fights of a imagined Battle and the considerations that are made
by the Players.
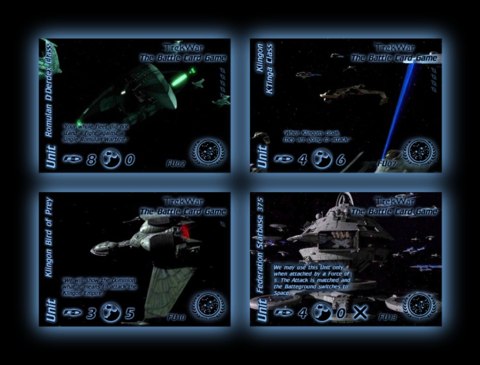
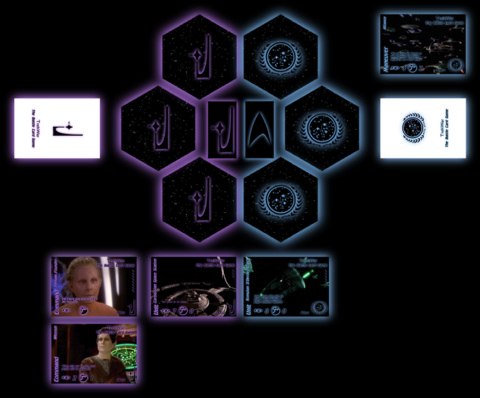
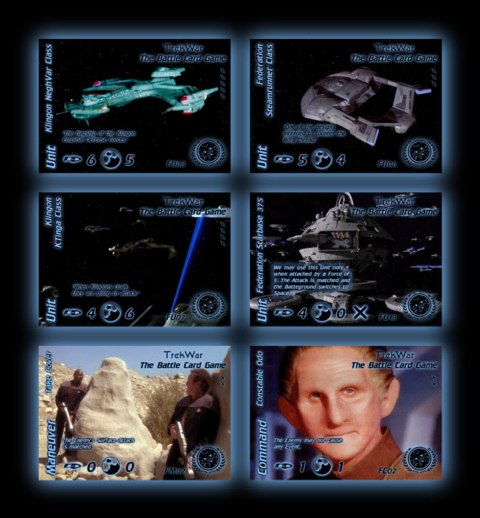
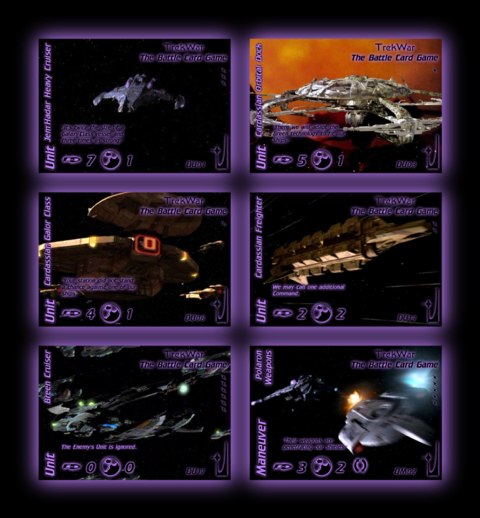
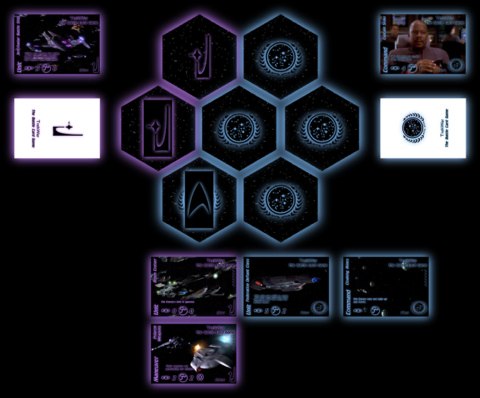
Example:
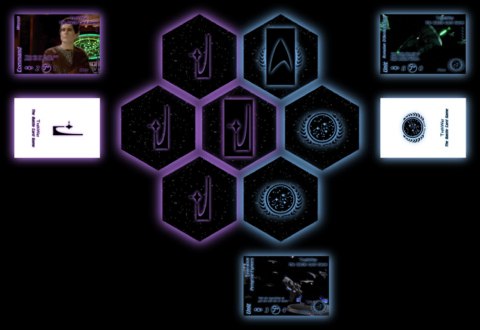
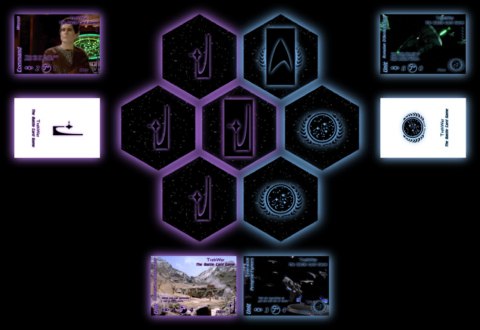
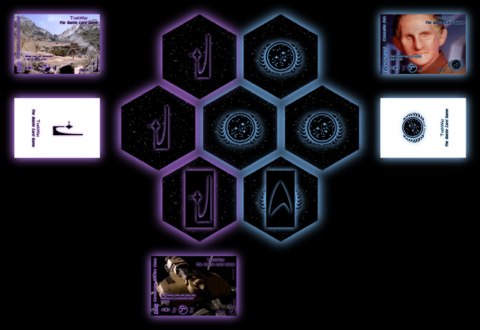
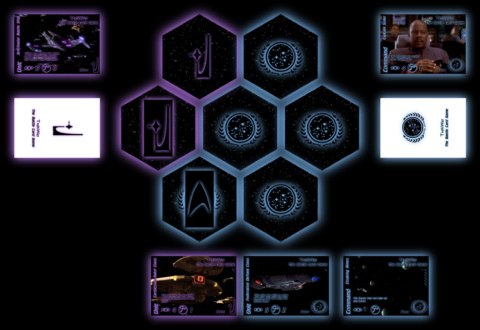
- In the opening Fight the Federation player has won the central Sector:

- Now the Dominion player may choose where to continue the Battle.
- He decides to attack from his upper left Sector and wants to take the central territory.
- So he places his Fleet in the upper left Sector, and the Federation Fleet is placed in the central Sector.
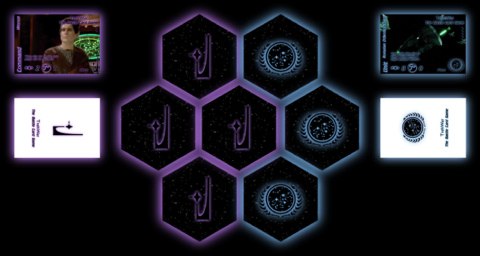
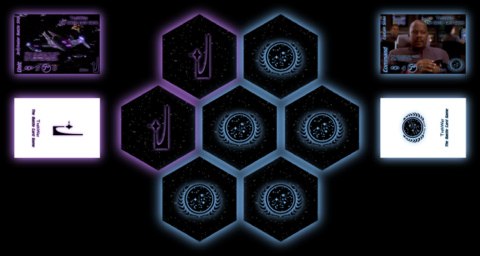
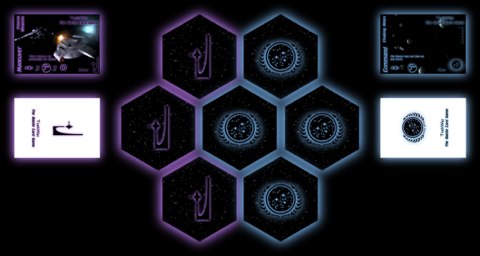
Example:
- Situation like in the last Example
If the Dominion player wins, the board changes this way:

- because the Dominion player defeated the Federation Fleet in the central Sector.
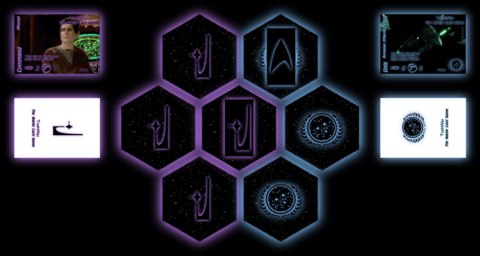
If the Federation player wins, the board changes to:

- because the Federation defended all Dominion forces coming from the upper left Sector.
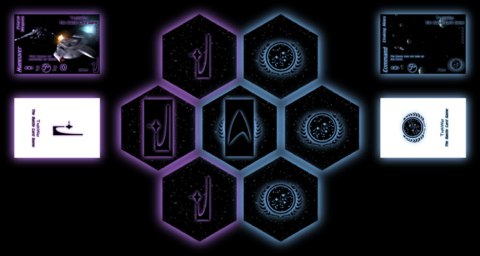
Example:
- The game has begun, and the table looks like this:
- Now both players get their first Hand. First they take up six Cards from their Deck Piles, then they decide, which Cards they want to drop in order to get other Cards from their Deck Piles.
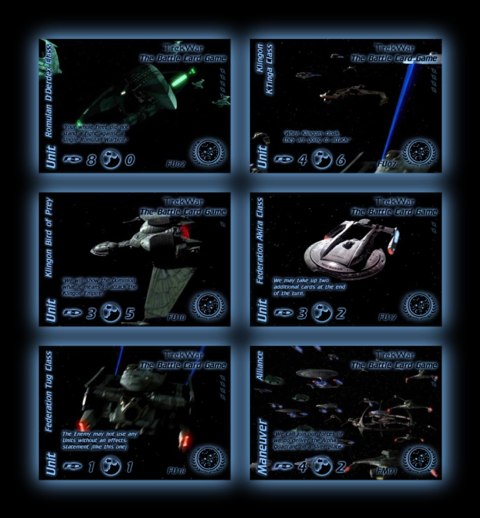
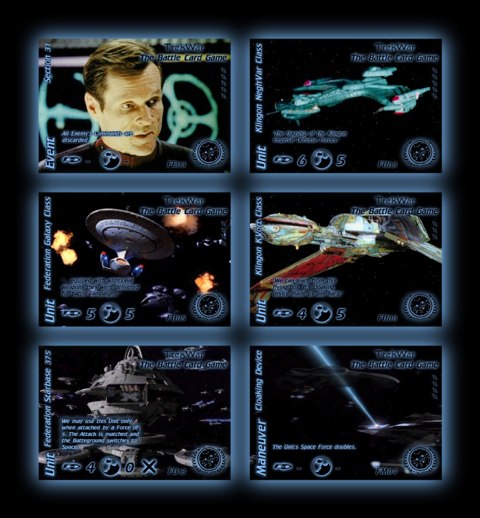
The first six Cards on the Dominion Hand:
As the Dominion Player is the older one, he may call the first Battleground. The player decides to make use of the nice Space Force of the "Cardassian Space Station". Therefore he needs a strong Hand which can support a Space Fight. In this context he decides to drop "Jem'Hadar Ketracel White Storage" which is less powerfull in a Space fight. He takes up "Weyoun" which happens to be a Card that helps a Space Fight. Now his Hand looks like this:
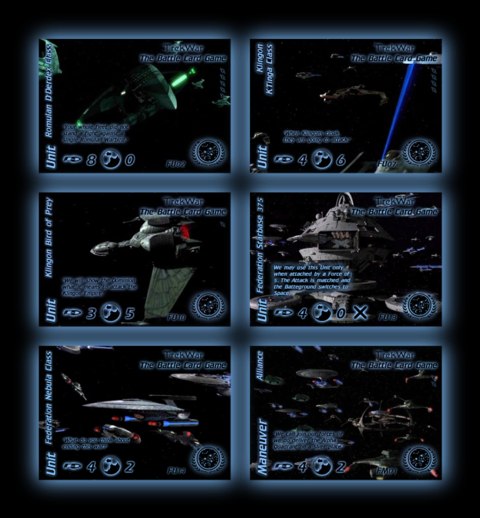
The Federation Player takes up the following Cards:
She does not know at which Battleground the Dominion will attack. So she decides to drop "Federation Akira Class" and "Federation Tug Class" which are not so essential to her tactic. She hopes for stronger Units and gets "Federation Starbase 375" and "Federation Nebula Class" from her Card pile:
- Both players add the dropped Cards to their Decks and shuffle them.
- Now the Dominion Player playes his first Unit.
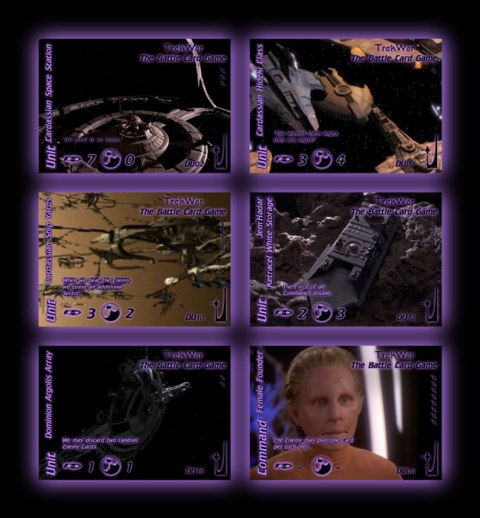
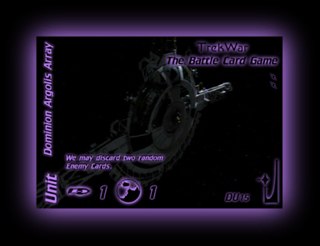
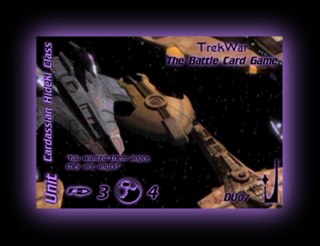
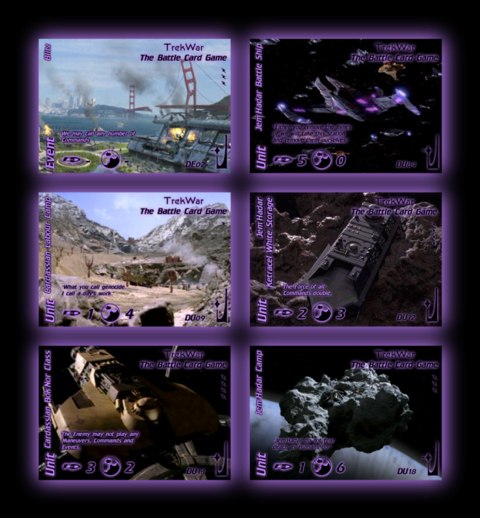
He has four options: "Cardassian Space Station", "Cardassian Hideki Class", "Cardassian Ship Yards" and "Dominion Argolis Array". He decides to play "Dominion Argolis Array", because the Card is quite difficult to play in the middle of a fight. On the other Hand, the Special Effects text on the Card allowes him to weaken the other Player's Hand:
He names "Space" as Battleground. The Federation player shuffles her Cards and the Dominion player randomly takes "Federation Nebula Class" and "Alliance", which he discards onto the Federation Discard Pile next to the Federation Deck Pile:
Note: In this picture both Cards on the Discard Pile are visible. This is for demonstration purposes only. In the real game just the top Card of the discard pile shall be visible.
- The attacking Player takes up Cards from his Deck pile until he has six Cards on his Hand.
Because the Dominion player only holds five Cards on his Hand, he takes up one Card from his Deck pile. It is "Jem'Hadar Camp".
Note: The Federation Player is not the attacking player, so she has to begin her Turn with just four Card to defend the attack.
Example:
- Situation like at the End of the last Example:
The Dominion Player has attacked with a Force of "1 Space".
Now it's the Federation Player's Turn. Her Hand is (remember: She lost two Cards to "Dominion Argolis Array" in the Dominion opening):
- Initial Stage: She does nothing.
There are no Special Effects on the Table which relate to the Initial Stage. There are no Maneuvers or Events from her last turn, either.
- Event Stage: She does nothing.
She has not any Event to play on her Hand, so in this Stage she can not perform an action.
- Surrender Stage: She does not surrender.
She can easily match the "1 Space" attack.
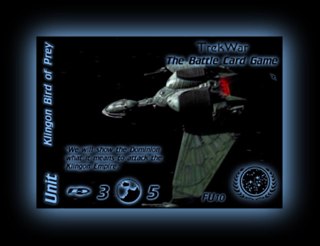
- Deployment Stage: She playes "Klingon Bird of Prey".
This is a safety-move. As she has had to discard her only Maneuver she decides to wait playing the "Romulan D'Deridex Class" until she can support the ship. The Bird-of-Prey is a fair Unit, but she has no Maneuver or Command to support it.
She matches the Dominion Attack, because the Dominion active Combating Force only represent a Force of "1 Space". Now her Combating Force represents an Attack of "3 Space".
- Last Stage: She calls her Force ("3 Space") and takes up three Cards from her Deck Pile. By this she finishes her Turn.
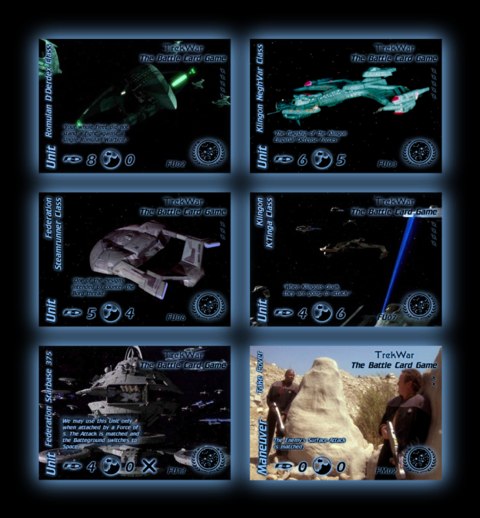
As her Combating Force is just the Bird-of-Prey, it is easy to count her Force. She only has three Cards left on her Hand. Therefore she may take up three Cards in order to get six Cards again. She takes up "Klingon Negh'Var Class", "Federation Steamrunner Class" and "Take Cover".
The Table looks like this:
It's the Dominion Player's Turn. His Hand:
- Initial Stage: He does nothing.
- Event Stage: He does nothing.
- Surrender Stage: He does nothing.
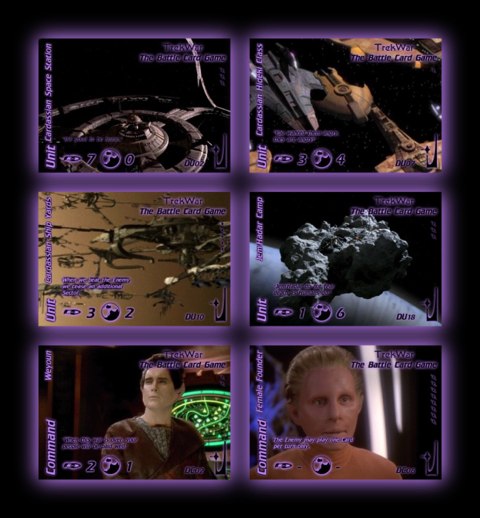
- Deployment Stage: He plays "Cardassian Hideki Class" and "Female Founder":
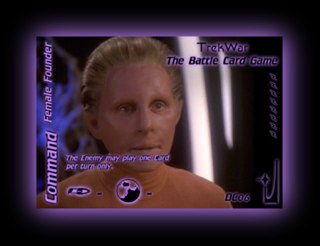
He holds an almost optimal Hand to dictate the Fight: This turn he matches her "3 Space" with the Hideki. By playing the Founder, which allowes her to play one Card per Turn only, he weakens her for the rest of the Fight.
- Final Stage: He calls his Attack ("3 Space") and takes up two Cards from his Deck Pile.
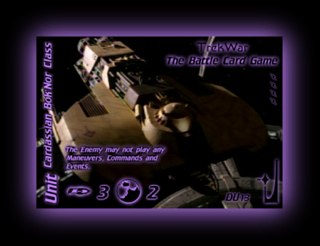
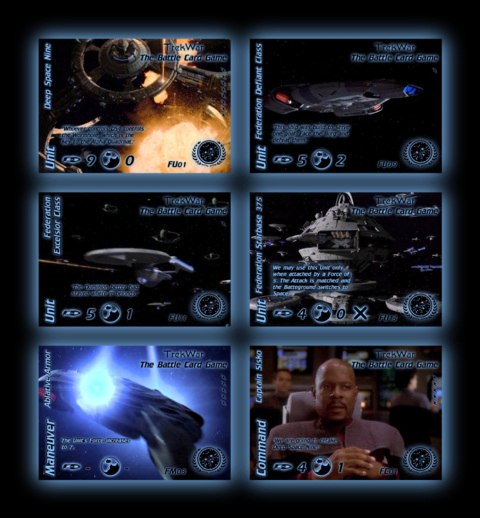
He gets "Cardassian Orbital Defenses" and "Cardassian Bok'Nor Class".
The Table now looks like this:

It's the Federation Player's Turn. Her Hand is:
- Initial Stage - Surrender Stage: She does nothing.
- Deployment Stage: She plays "Romulan D'Deridex Class":
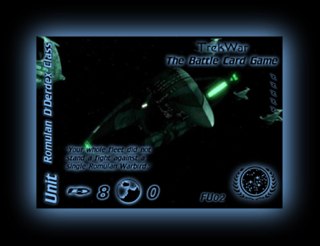
She may play one Card in her Turn only (because of "Female Founder"). That means she can play an Event and surrender, or she can match the Enemy Attack by just playing a singel Unit.
Because the Fight will become more violent as the Forces increase, she no longer has the luxory to wait for better Cards to support her Units. She playes the Warbird, hoping, that it will be strong enough to make the other Player struggle.
- Final stage: She calls her Attack ("8 Space") and takes up one Card.
It's "Constable Odo".
The Table:
It's the Dominion Player's Turn. His Hand:
- Initial Stage - Surrender Stage: He does nothing.
- Deployment Stage: He playes "Cardassian Space Station" and "Weyoun":
He has no choice but to play exaclty this two Cards or to surrender. This was not exactly how he planned this Fight to continue. Originally he wanted to wait one more Turn before playing his best Unit from the Hand. Now he must hope, that he gets good new Cards from the Deck and that the other Player can not match this Attack.
He matches the Federation Attack because he commands 9 Space on the Table (7 from the Station and 2 from Weyoun).
- Final Stage: He calls his Attack ("9 Space") and takes up two Cards.
"Jem'Hadar Battle Ship" and "Jem'Hadar Camp"
The Table:
Note that a Command is played additional to the last one, therefore the Dominion Player controlls now two Commands in his Combating Force.
It's the Federation Player's Turn. Her Hand:
- Surrender Stage: She surrenders the Sector.
There is just one way she could match the Dominion Attack: The Starbase: Its Special Effects state, that it matches any Attack of a Force of 6 or higher. But she realises, that because of "Female Founder" and "Weyoun" it's going to be much harder to defend the Dominion attacks, not to speak of beating the Dominion Combating Force. Playing the Station would just be a waste. So she chooses a strategic retreat.
- The Dominion Player wins the Fight.
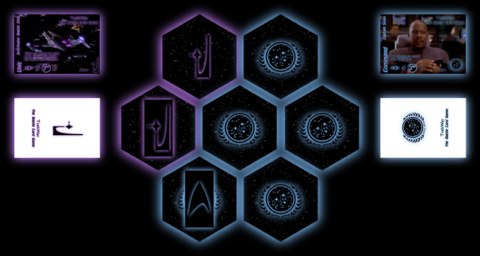
Example:
- Situation like at the End of the last Example:
- The Players discard their Units, Maneuvers and Commands.
- The Dominion Player gains the central Sector.
Example:
- Situation like at the End of the last Example:
- The Federation Player chooses to attack the central Territory from the top right Sector:
Her Hand is:
- She droppes two Cards and takes up two new Cards from the Deck Pile.
She tends to launch a Surface Attack because if necessary she can match any Dominion Attack by playing "Take Cover". So she droppes "Klingon Negh'Var Class" and "Federation Steamrunner Class".
She gets "Klingon K'Tinga Class" and "Ablative Armor". Both Cards are ideal to support a Surface Attack.
- The Dominion Player droppes two Cards and takes up two new Cards from his Deck Pile.
He droppes "Cardassian Orbital Defenses" and "Cardassian Ship Yards" because he has to many weak Units with Special Effects on his Hand. He hopes for Cards with more Force. He gets "Blitz" and "Cardassian Labour Camp".
- Both Players shuffle their Cards into their Decks.
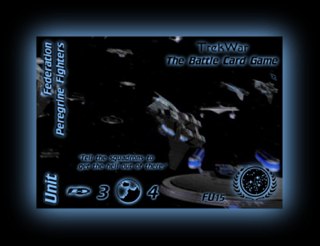
- She opens the Fight with "Federation Peregrine Fighters":
She takes it slowly.
- She calls "Surface" as Battleground.
- She takes up one Card fromher Deck Pile.
It's "Deep Space Nine".
The Table:
- It's the Dominion Player's Turn. His Hand:
- He playes "Cardassian Labour Camp":
He is in the defensive. Although "Jem'Hadar Camp" is a quite fair Surface Unit, he can not support it enough to make it a real thread.
- He calls his Attack ("4 Surface") and takes up one Card from his Deck Pile.
He gets "Jem'Hadar Heavy Cruiser".
The Table:
It's the Federation Player's Turn. Her Hand:
- She plays "Klingon K'Tinga Class" and "Constable Odo":
Now she delivers her real Attack. Thanks to Odo the Dominion PLayer may not call any Events. Just in case the Dominion Player could still match this Attack she has every option to respond.
- She calls her Attack ("7 Surface") and takes up two Cards from th Deck Pile.
Remember: Add Unit's, Maneuver's and Command's strength (6 K'Tinga + 1 Odo). She gets "Klingon K'Vort Class" and "Captain Sisko".
The Table:
It's the Dominion Player's Turn:
- He surrenders the sector.
He simply has not the Cards to counter an "7 Surface" Attack. The Event he may not play because of Odo (besides he has no Commands to play), the Cruiser and the Battle Ship are strong in Space only, the Ketracel Storage and the Freighter are to weak and even the Camp can not halp him without a Maneuver or Command.
The Table:
- The Dominion Player attacks the lower right Sector from the lower left:
- He drops three Cards and takes three new ones from the Deck.
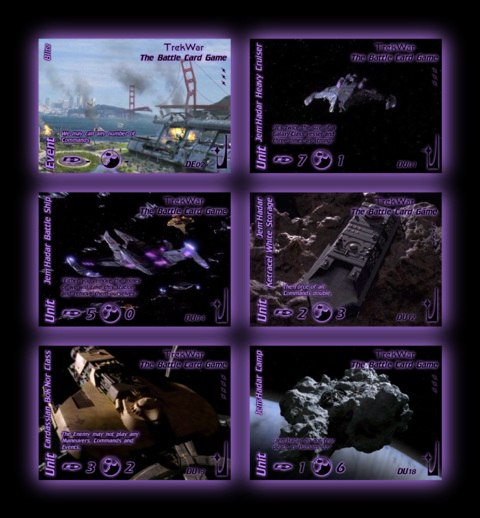
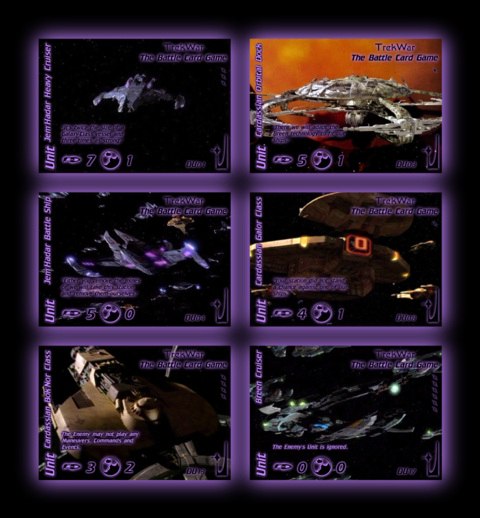
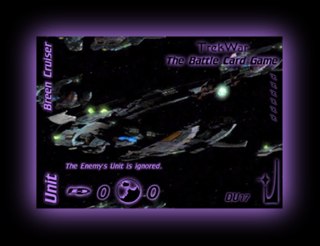
Hoping for some Maneuvers and Commands he let's go of "Blitz", "Jem'Hadar Ketracel White Storage" and "Jem'Hadar Camp". He has no luck and gets "Cardassian Orbital Dock", "Crdassian Galor Class" and "Breen Cruiser".
- The Federation Player droppes two Cards and takes up two new ones.
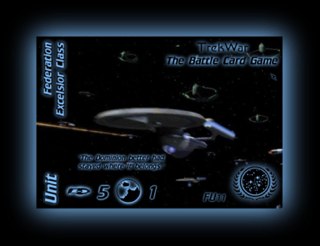
She suspects an Space Attack as the Dominion Player could not match her last Surface assault. So she gets rid of "Klingon K'Vort Class" and "Take Cover". She gets "Federation Defiant Class" and "Federation Excelsior Class".
- Both players shuffle the dropped Cards into their Decks.
The Dominion Hand:
- He opens the Fight with "Cardassian Bok'Nor Class" and calls for "Space" as Battleground:
As he has no unbeatable Units on his Hand, he decides to force the Federation Player a fair Unit first. Because of the Bok'Nor she may not play any Event, Maneuver or Command.
- He takes up one Card.
It is "Cardassian Freighter".
The Table:
- It's the Federation's Turn. The Player's Hand:
- She playes "Federation Excelsior Class":
When the time comes, she will play DS9 with Captain Sisko. But because of the Bok'Nor this will has to wait.
- She calls her Attack ("5 Space") and takes a Card from the Pile.
It's "Federation Tug Class".
The Table:
- It's the Dominion Player's Turn:
- He plays "Jem'Hadar Battle Ship":
He has almost no alternative. This way he can keep the Heavy Cruiser and the Breen Cruiser to defend the next Attack.
- He calls his Attack ("5 Space") and takes up a Card.
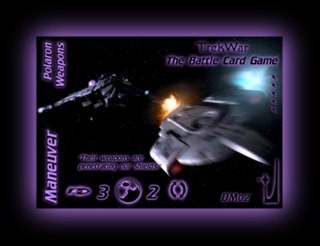
It's "Polaron Weapons".
The Table:
- It's the Federation Player's Turn:
- She plays "Deep Space Nine" and "Captain Sisko":
Now it's time for her to strike.
- She calls her Attack ("13 Space") and takes up two Cards.
Namely "Cloaking Device" and "Cloaking Mines".
The Table:
- It's the Dominion Player's Turn:
- He surenders.
Two words: No way! Even with the Breen Cruiser which can ignore DS9, there are still 4 Space to match left. The Maneuver can only match 3 Space, so this is a real no win situation.
- The Players discard their Combating Forces and the Federation seizes another Sector:
- The Dominion Player decides to attack the lower left from the central left Sector:
- He does not drop any Card.
- She drops one Card and takes up a new one.
She exchanges "Ablative Armor" against "Klingon Negh'Var Class".
- She shuffles the dropped Card into her Deck Pile.
The Dominion Hand:
- He opens the Fight with "Cardassian Galor Class" in "Space":
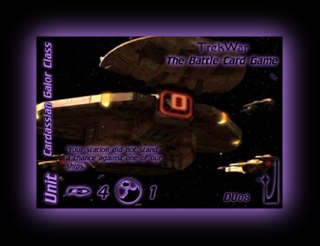
With the Breen Cruiser and the Maneuver he is going to play a nasty duo in the next Turn.
- He takes up one Card from the Deck Pile.
It's "Remata'Klan".
The Table:
- It's the Federation Player's Turn:
- She plays "Federation Defiant Class" and "Cloaking Mines":
At the moment she feels pretty confident, that the Negh'Var with the Cloaking Device is going to grant her a quick victory. But before that she wants to weaken the Dominion Player. The Minefield prevents him from taking up any Card in this Fight.
- She calls her Attack ("5 Space") and taes up two Cards from her Deck Pile.
It's "Federation Galaxy Class" and "Take Cover".
The Table:
- It's the Dominion Player's Turn:
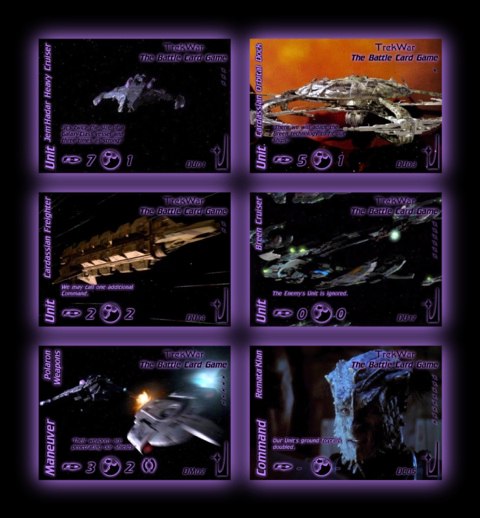
- He plays "Breen Cruiser" and "Polaron Weapons":
By this, the Defiant is neutralized (the Attack "decays" to "0 Space" so to say) as well is the next Federation Unit, but the Federation Player still has a Attack of "3 Space" to defend.
- The Dominion Player calls his Attack ("3 Space").
Because of the Minefield he may take up no Card from his Deck Pile.
The Table:
Note how the Maneuver is place directly next to the Unit in order to indicate, that it supports the Breen Ship.
- It's the Federation's Turn:

- She surrenders.
There is no way, she can match 2 Space without a Unit. Even the Starbase can't save her, as her Unit (and its Special Effect) is ignored because of "Breen Cruiser".
The Players gather their Combating Forces and discard them:
- The Federation Player attacks from the center right in the Heart of
Dominion territory:
- The Dominion Player takes up two Cards from his Deck Pile.
Because he holds less than six Cards at the beginning of a Fight, he may
fill up his Hand. He draws "Jem'Hadar Fighter Wing" and "Legat
Damar".
- The Federation Player droppes two Cards and takes up two Cards from his Deck Pile.
She is well prepared for space combat. The Tug Class and Take Cover yet are not very usefull. "Section 31" and "Klingon K'Vort Class" in return are more handsome.
- The Dominion Player droppes one Card and takes up a new one.
He droppes the Orbital Dock and gets "Blitz".
- It's the Federation's Turn:
- She opens the Fight with "Federation Galaxy Class":
This time she wants to finish him quickly.
- She calls the Battleground ("Space") and takes up a new Card.
It's "Federation Steamrunner Class".
The Table:
- It's the Dominion's Turn:
- He playes "Jem'Hadar Fighter Wing" and "Legat Damar":
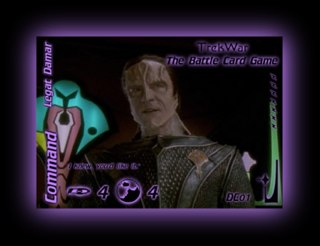
This is a strong move: Damar is going to last for the end of the fight and the Fighters can be taken up at the Initial Stage of each Turn.
- He calls his Attack ("8 Space") and takes up two Cards.
They are "Crdasian Ship Yards" and "Cardassian Orbital Defenses".
The Table:
- It's the Federation's Turn:
- Event Stage: She plays "Section 31" and discards "Damar":
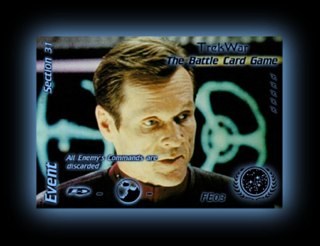
The first Event of the Game. She uses it to assasinate Damar and break the Dominion resistance. By this the Dominion Attack is weakened to "4 Space".
- Deployment Stage: She plays "Klingon Negh'Var Class" and
"Cloaking Device":
This way she plays the most offensive Attack possible.
- She calls her Attack ("12 Space") and takes up three new Cards from her Deck Pile.
Namely "Klingon Vorcha Class", "Federation Miranda Class" and "Federation Akira Class".
The Table:
Note how the Event is placed next to the Card Pile. In this particular case "Legat Damar" was discarded although a Command usually lasts for the whole Fight.
- It's the Dominion's Turn:
- He surrenders.
There are no optiond for him to hold the Sector. Even the Heavy Cruiser can't stop the boosted Klingon flagship without a Maneuver or Command